Add an AWS KMS secret manager
To store and use encrypted secrets (such as access keys) and files, you can add an AWS KMS Secret Manager.
You can only use Harness Built-in Secret Manager to store authentication credentials for access to the corresponding secret manager.
Storing credentials from one secret manager within another can result in complex and challenging situations. Moreover, these configurations might introduce vulnerabilities, posing potential security risks.
The Harness platform has several validations, including the disabling of self-references.
This topic describes how to add an AWS KMS Secret Manager in Harness.
Prerequisites
1: Add a Secret Manager
Navigate to Settings → Account-level resources → Connectors and click New Connector. Then, go to Secret Managers and select AWS KMS.
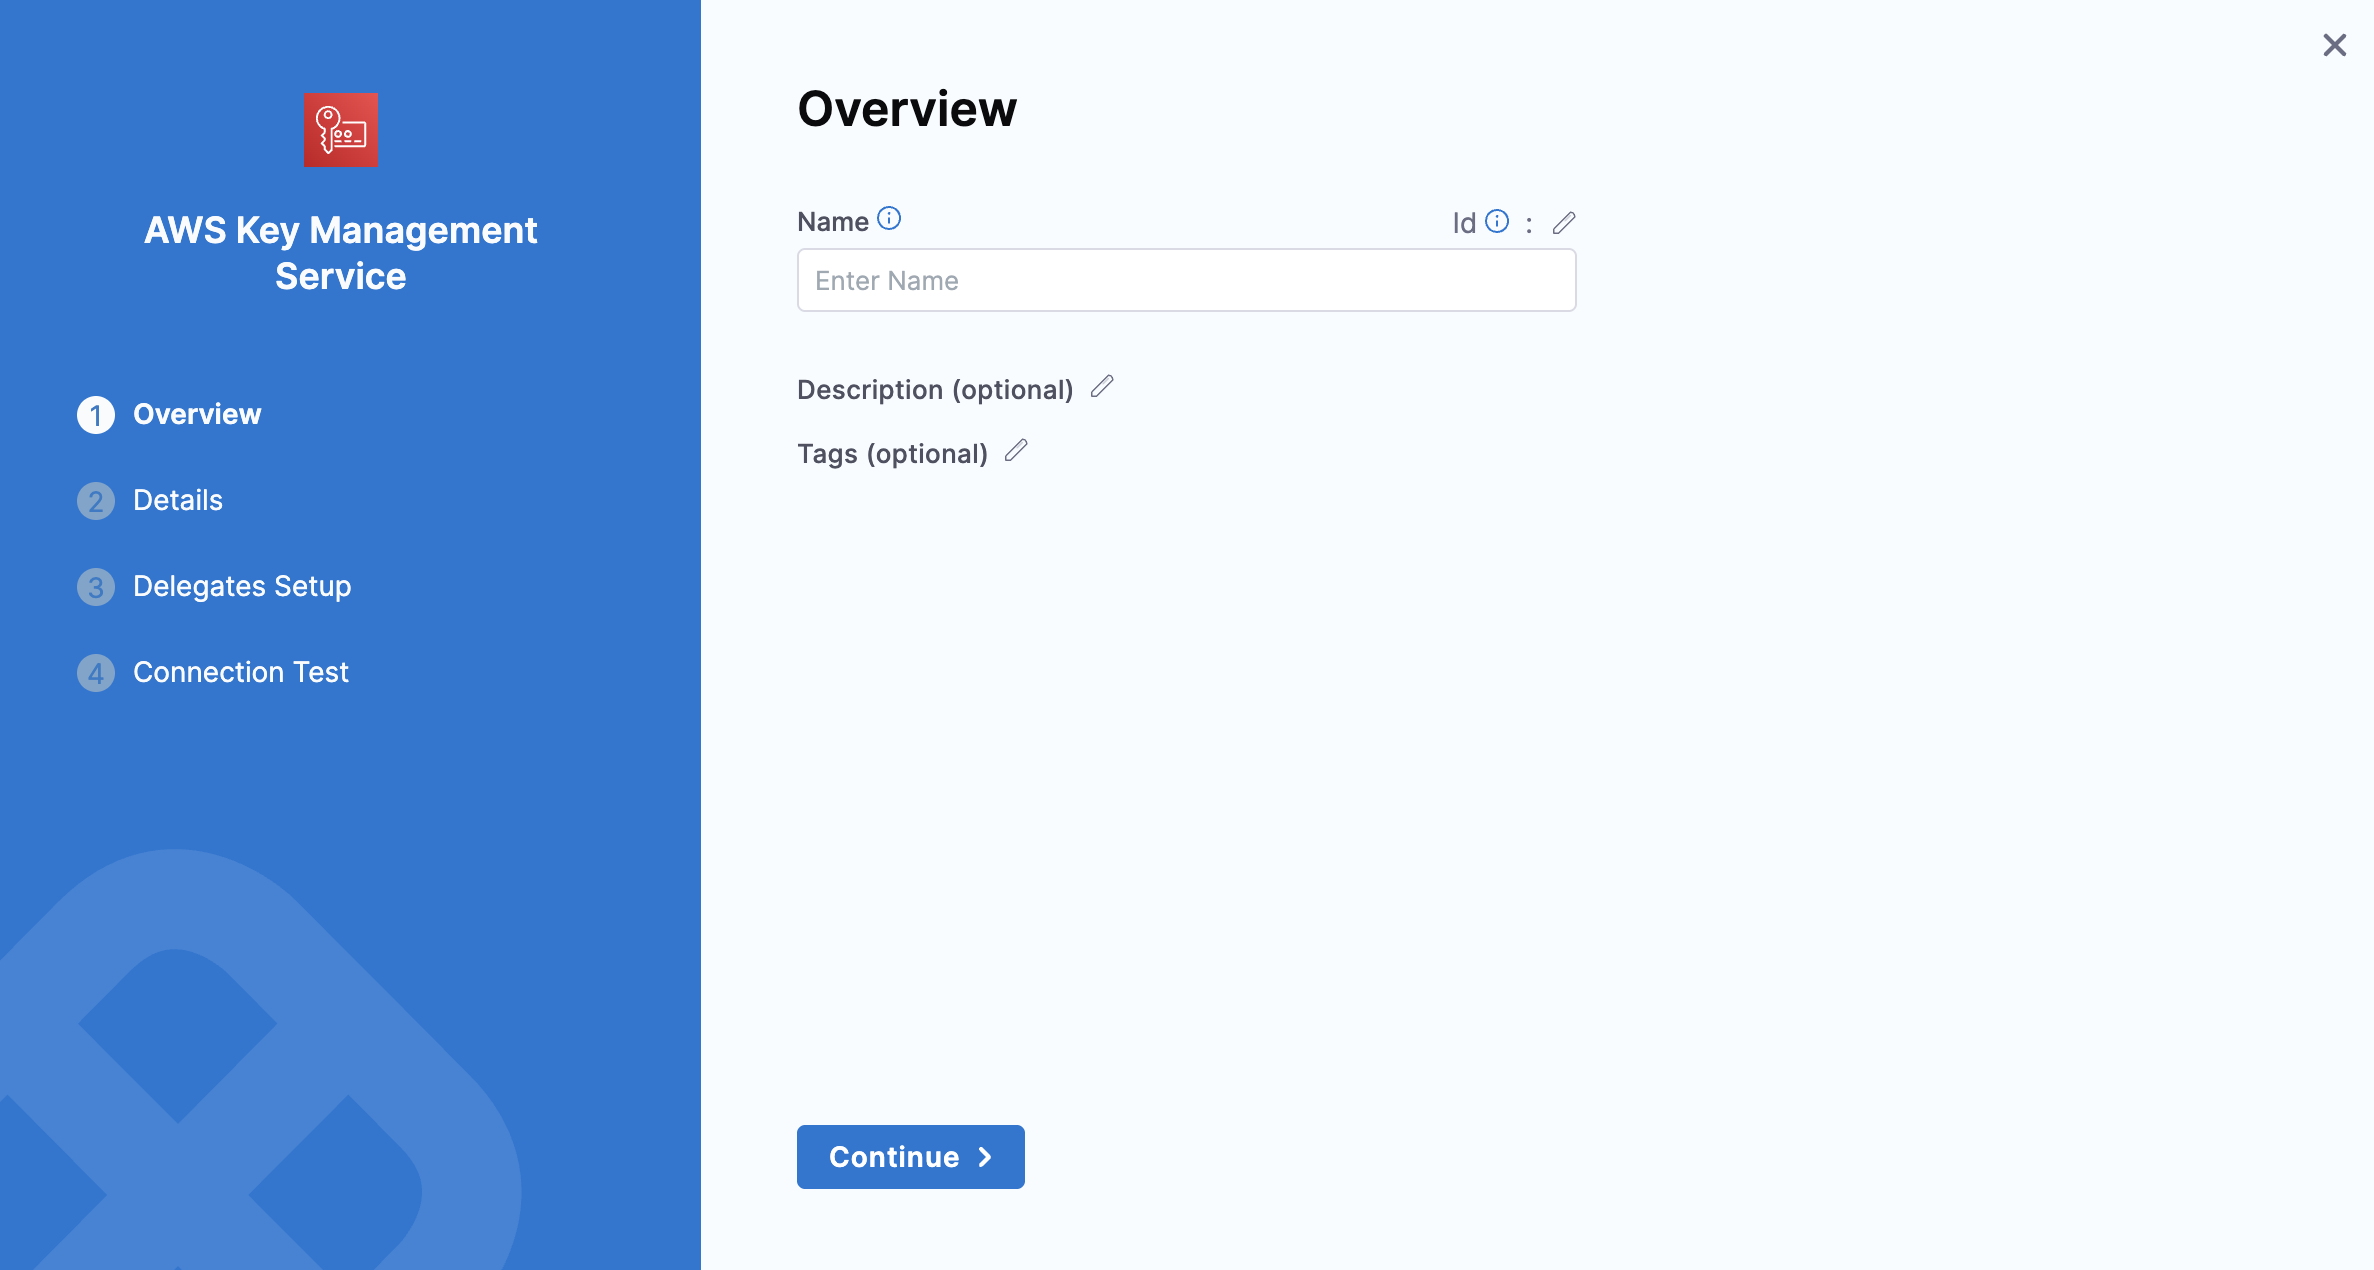
2: Overview
-
Enter a Name for your secret manager.
You can either update the ID or leave it the same as your secret manager's name. For more information, see Entity Identifier Reference.
-
(Optional) Enter a Description and Tags for your secret manager.
-
Select Continue.
3: Details
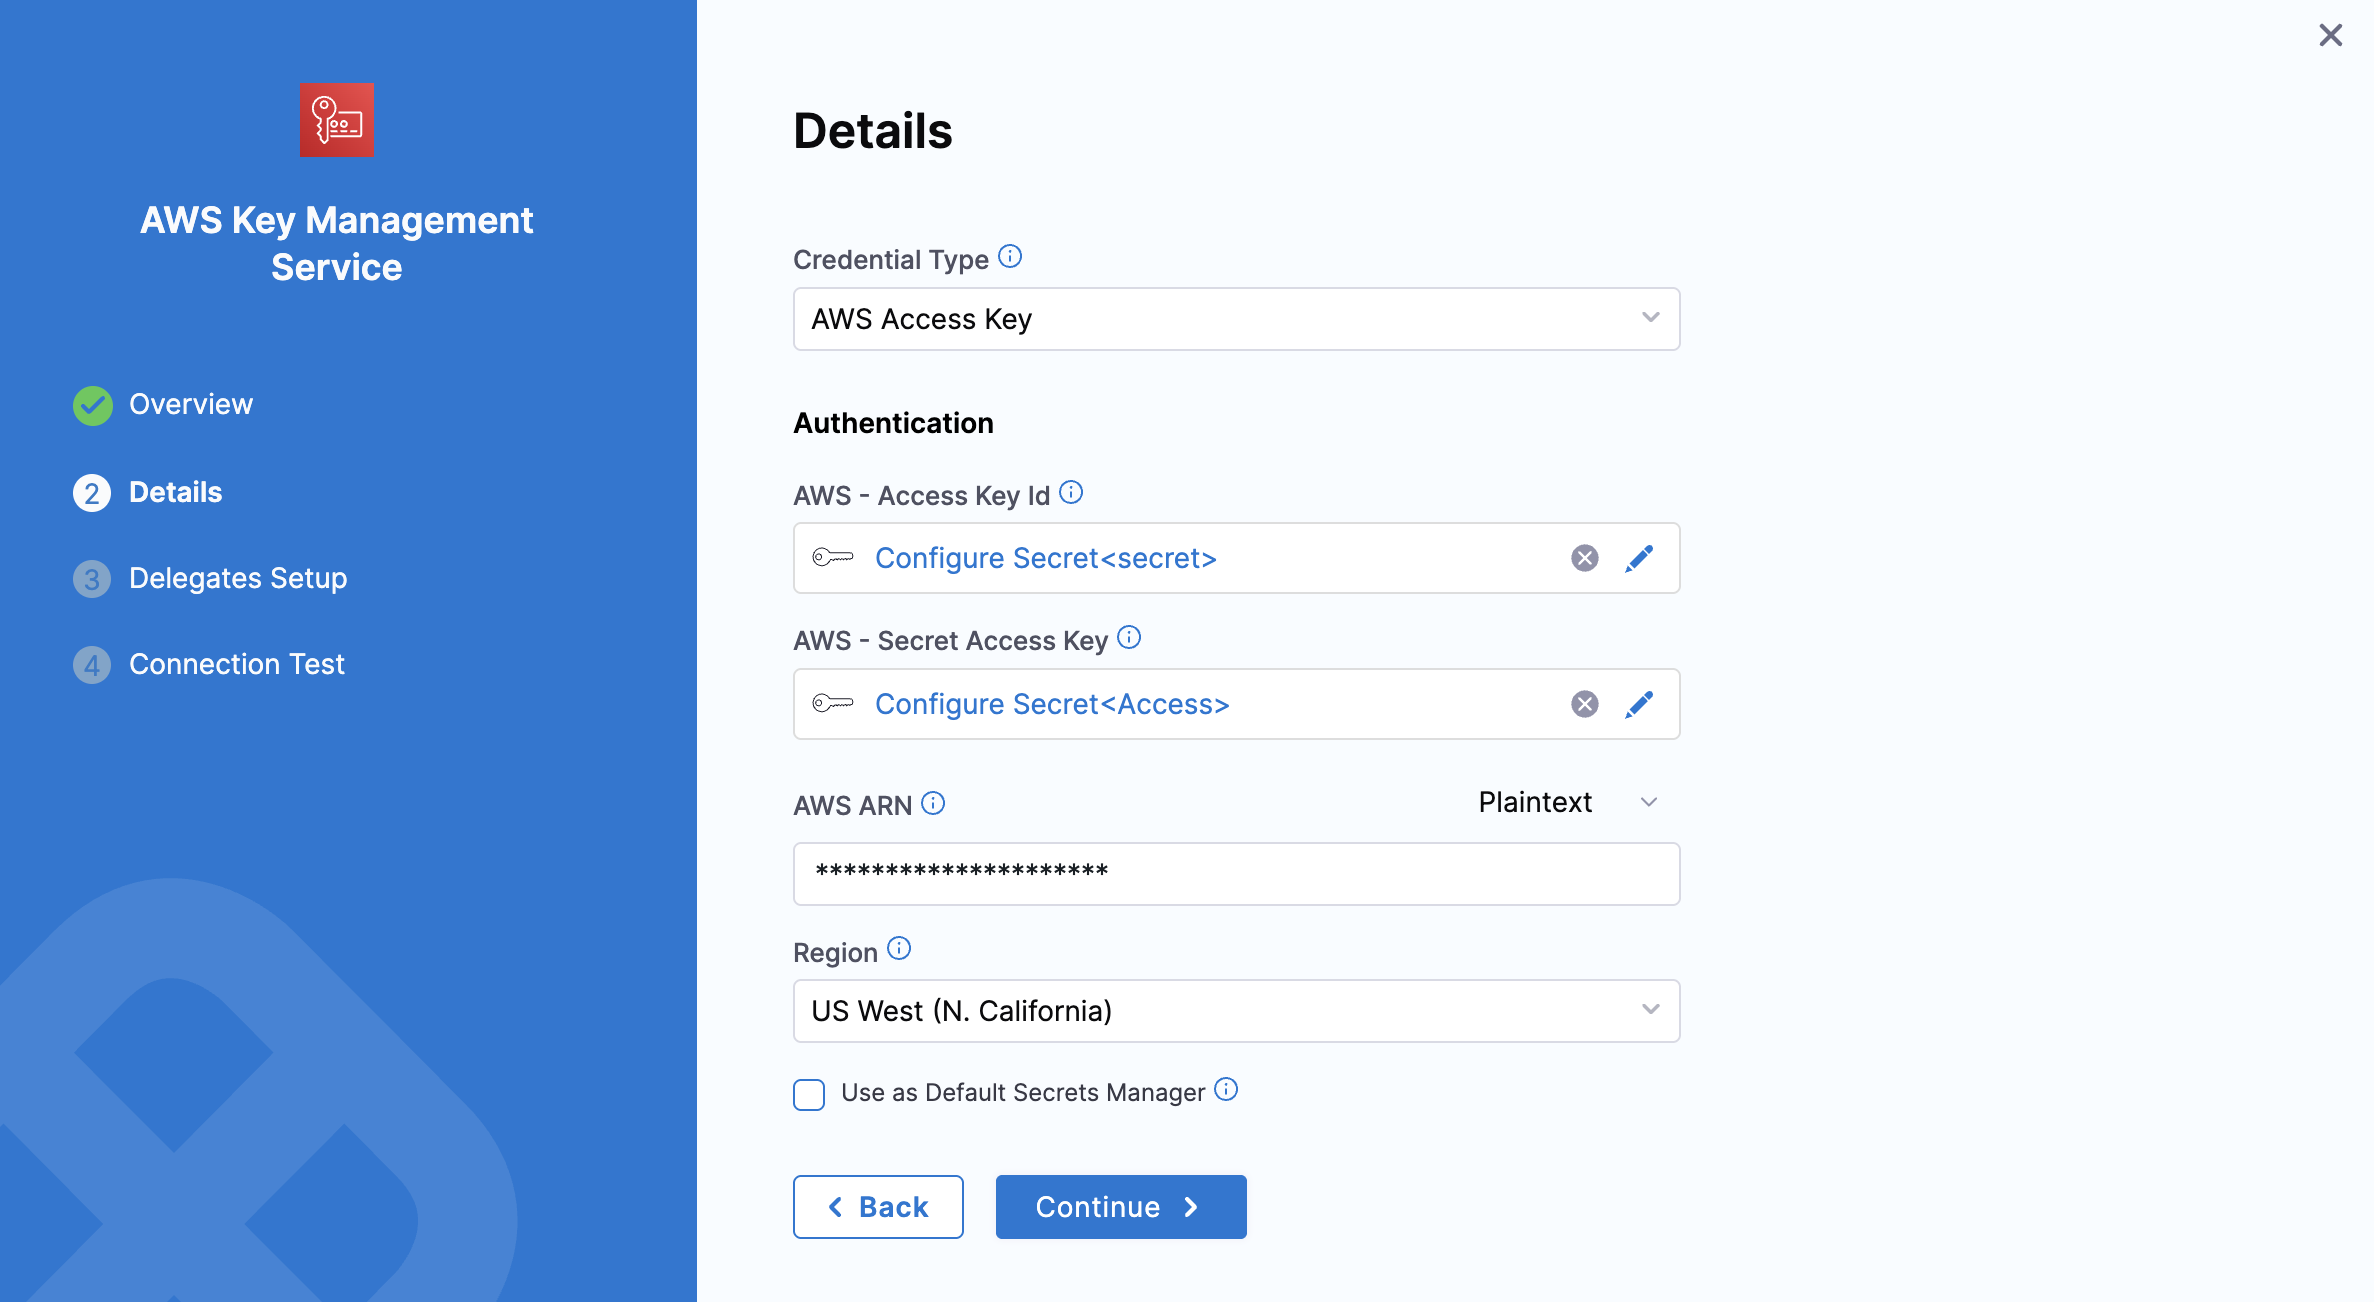
Select the Credential Type. There are four ways to authenticate with AWS, as shown below:
Option 1: AWS Access Key
Use your AWS IAM user login credentials.
You can get the AWS Access Key ID, AWS Secret Key, and Amazon Resource Name (ARN) either from the Key Policy JSON or from the AWS IAM console under Encryption keys.
For more information, refer to the AWS guide on viewing the Key ID and ARN
-
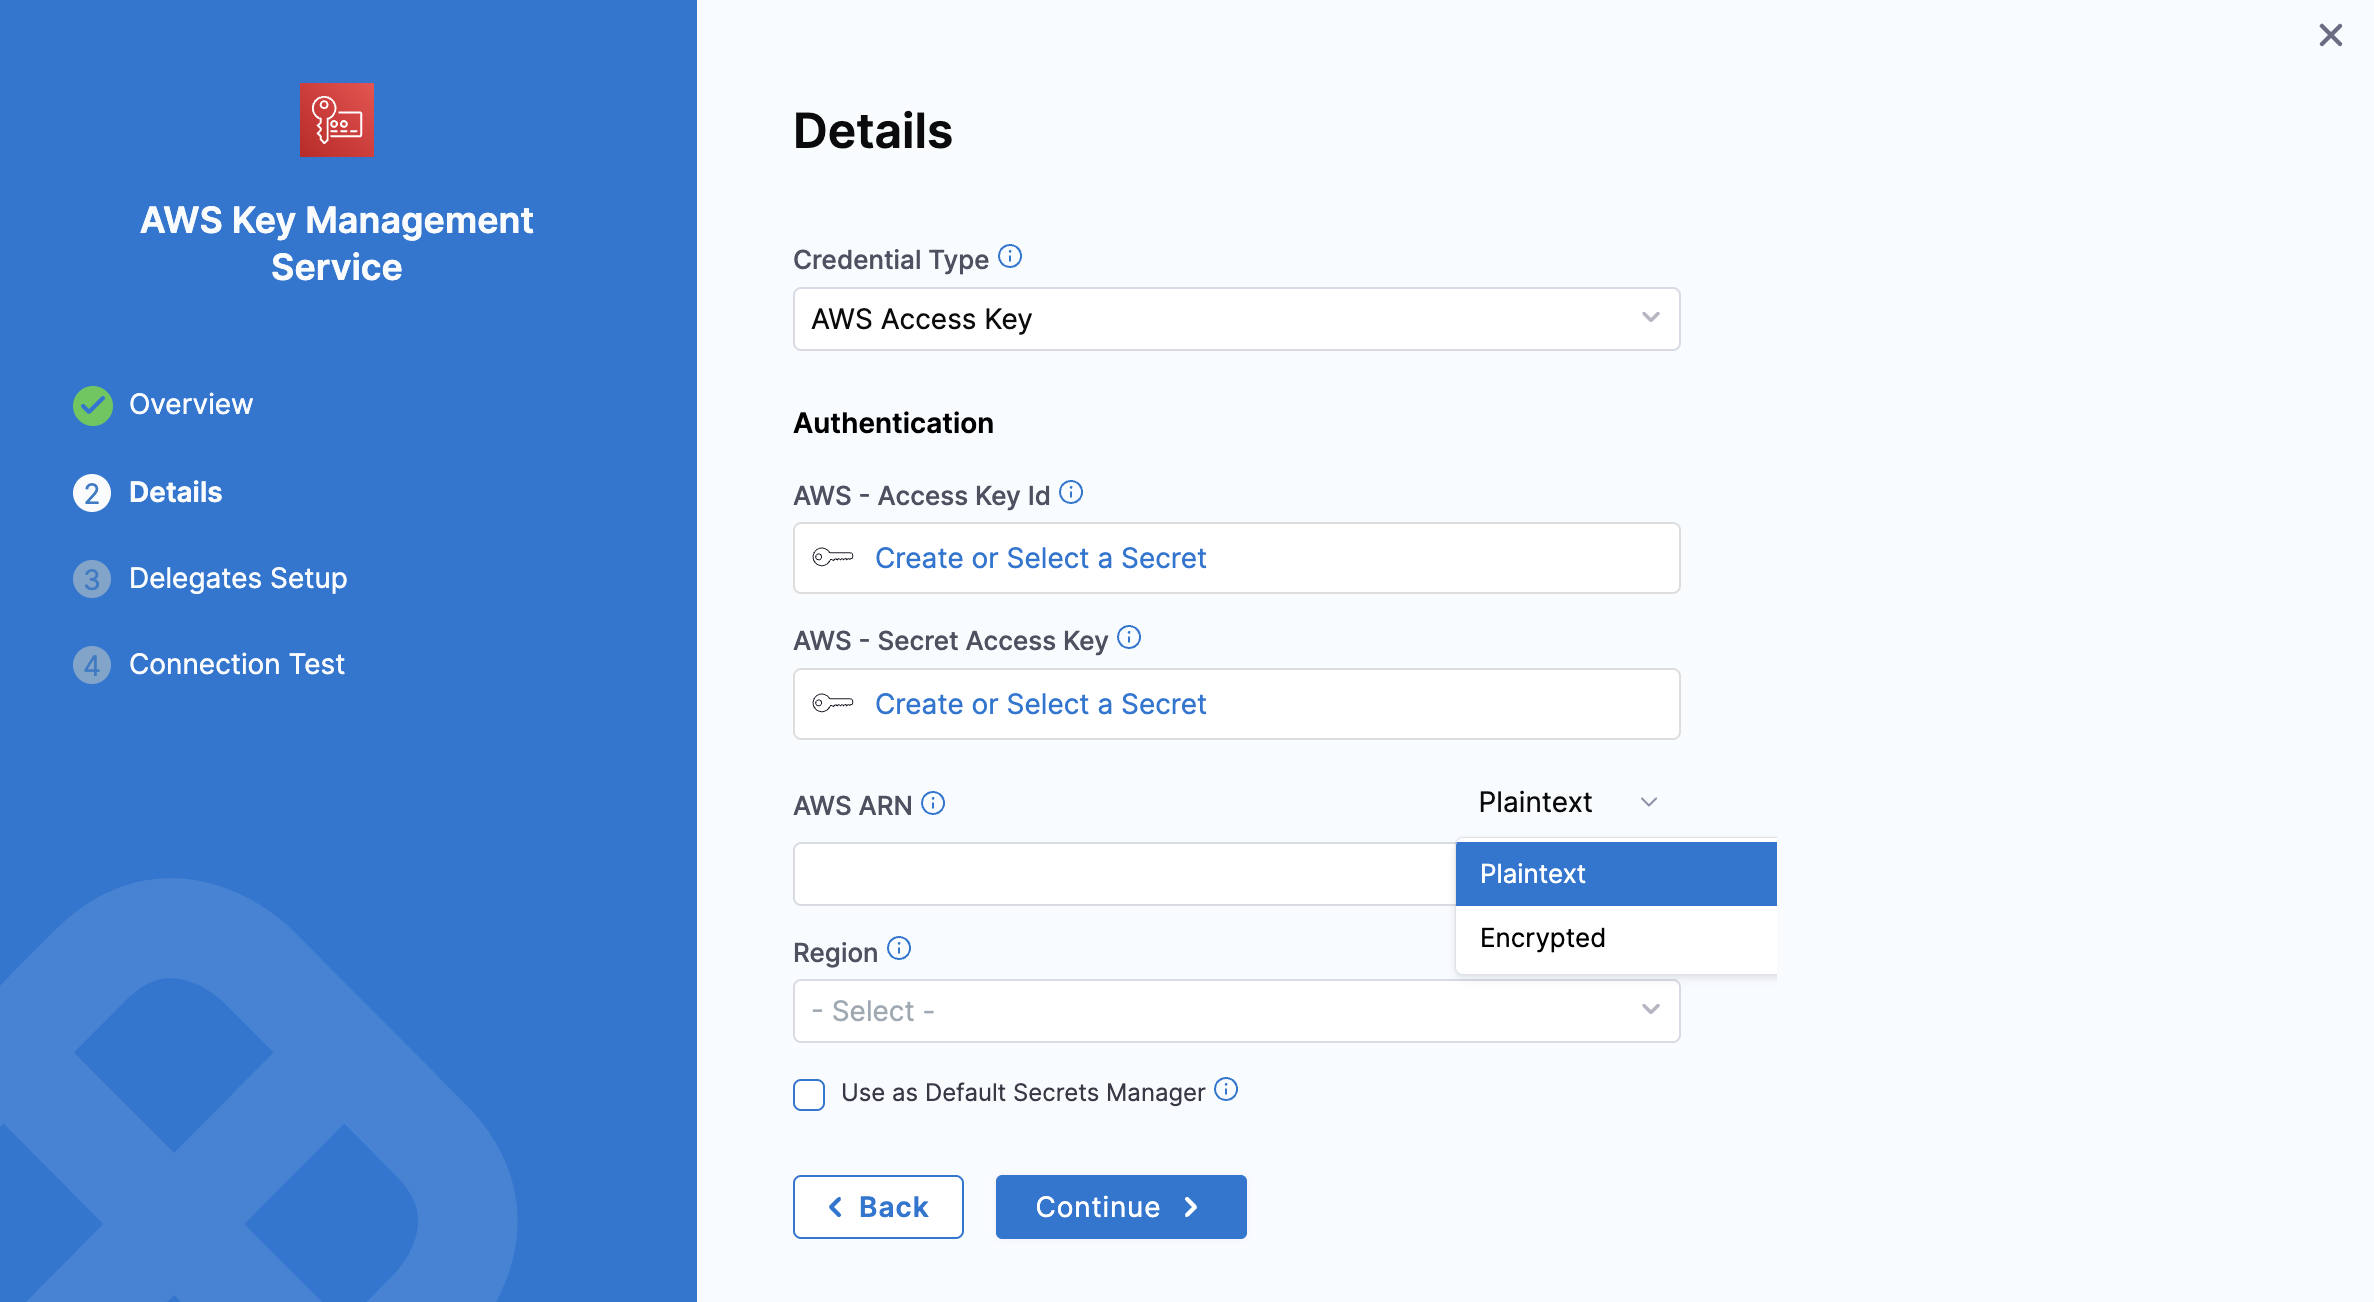
AWS Access Key ID
-
Select Create or Select a Secret.
-
In the secret settings dialog, you can create or select a Secret and enter your AWS Access Key as its value.
info- The AWS Access Key is the AWS Access Key ID for the IAM user you want to use to connect to secret manager.
-
-
AWS Secret Access Key
- Select Create or Select a Secret. You can create a new Secret with your Access Key ID's secret key as the Secret Value, or use an existing secret.
-
AWS ARN: You can provide the AWS ARN as plain text or as an encrypted secret.
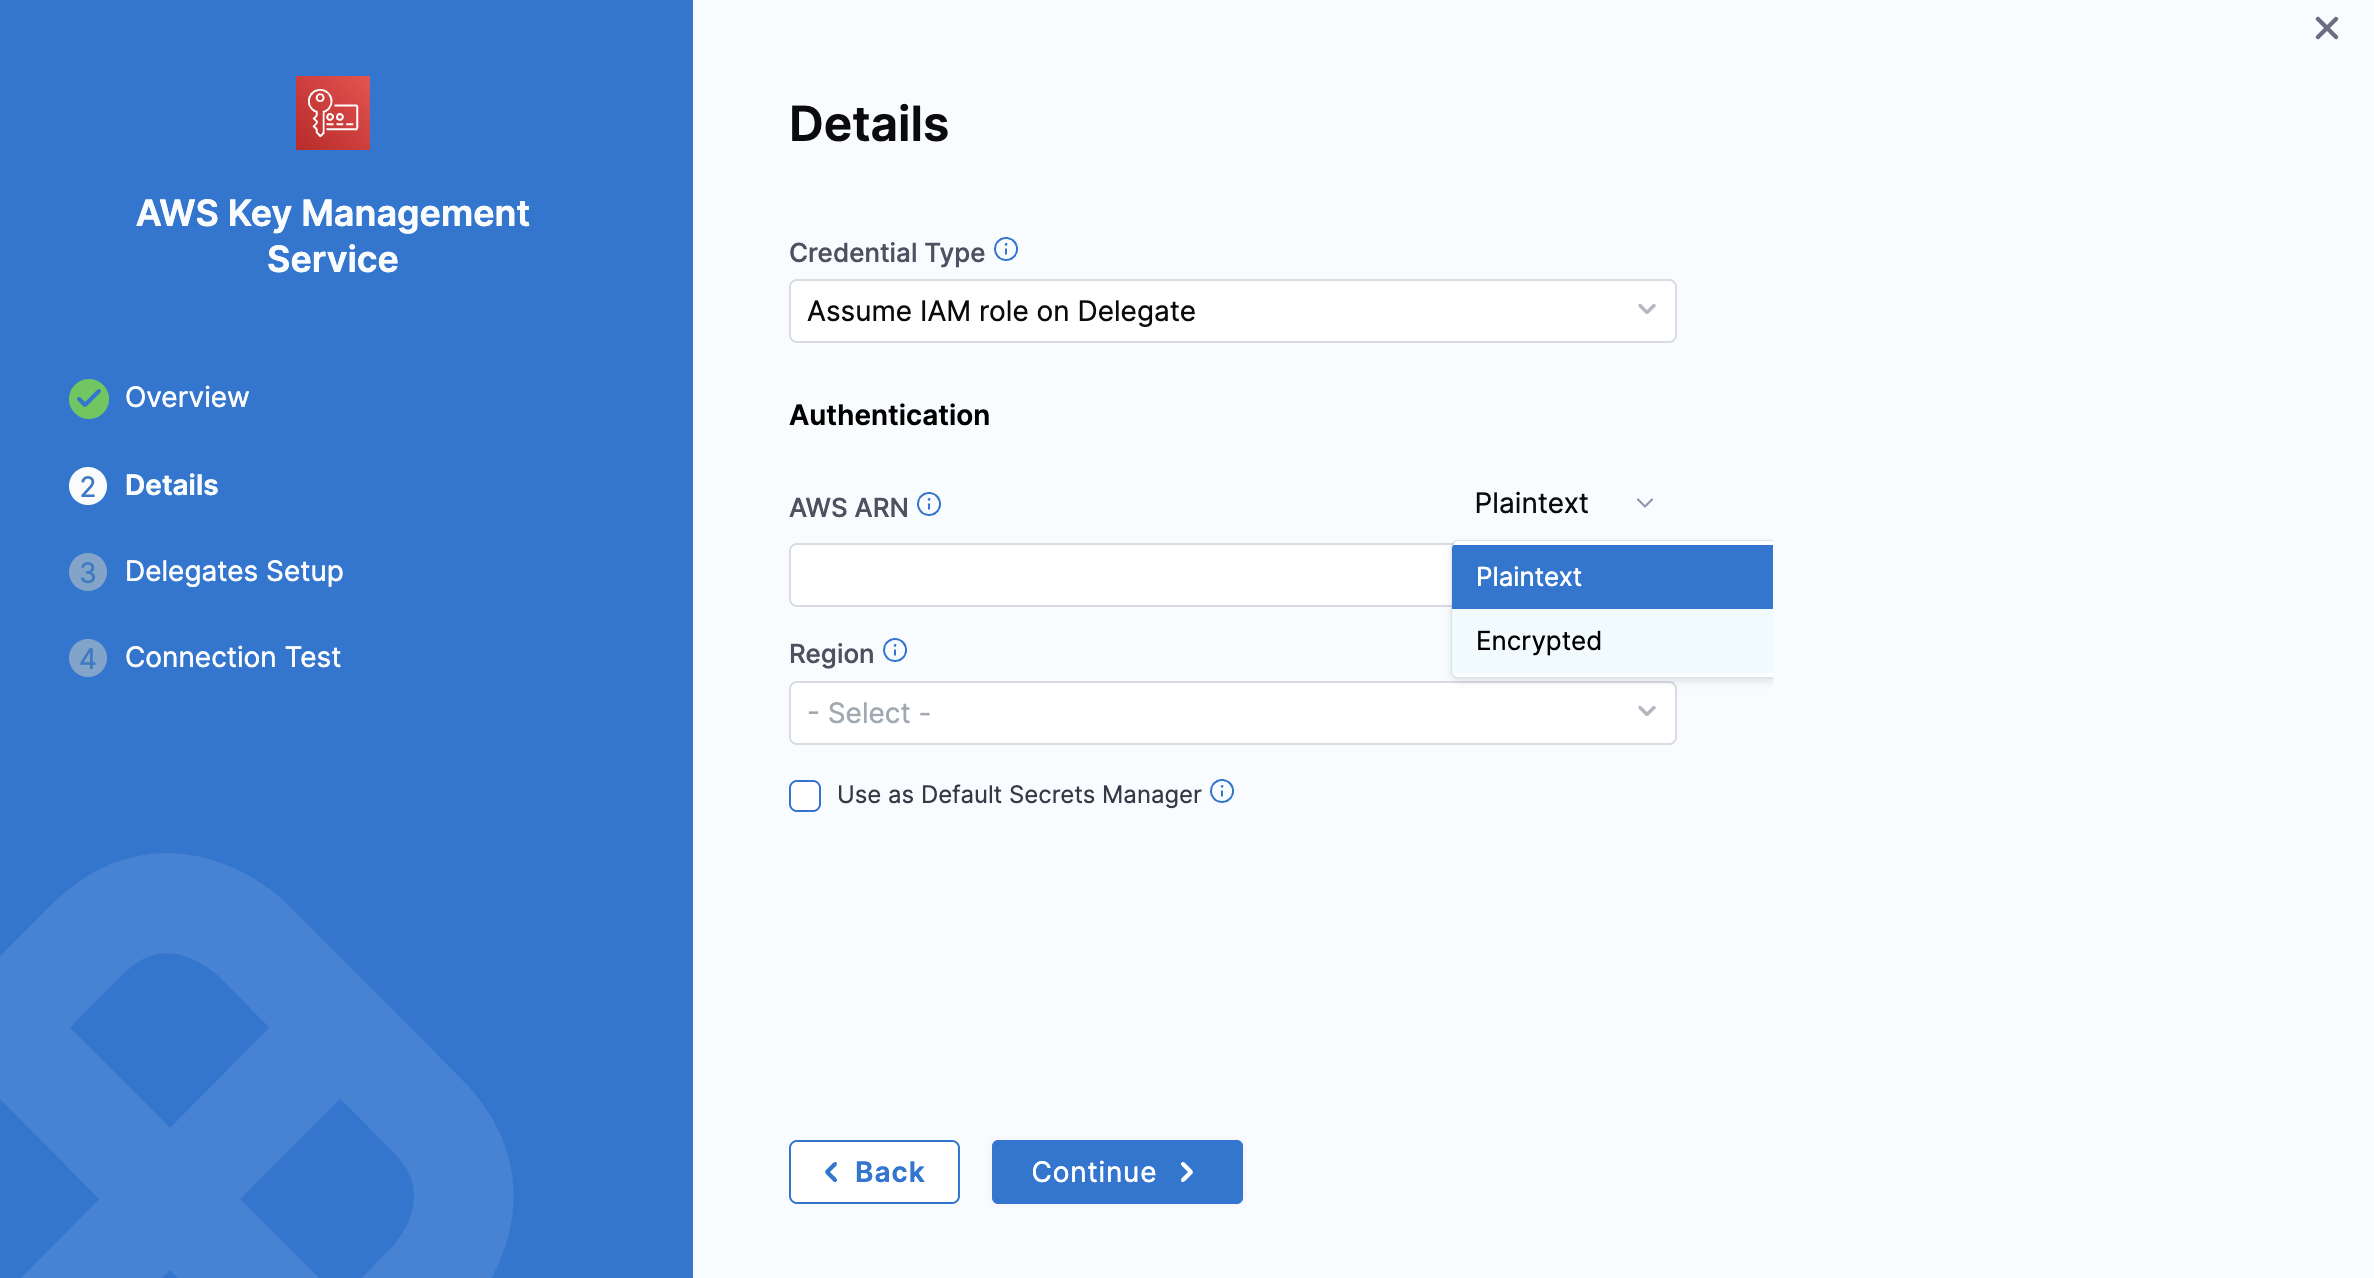
Option 2: Assume IAM Role on Delegate
If you select Assume the IAM Role on Delegate Harness will authenticate using the IAM role assigned to the AWS host running the Delegate, you select using a Delegate Selector.
-
AWS ARN: Enter the AWS ARN directly as plain text or as an encrypted secret.
-
Select the Region, then click Continue.
Option 3: Assume Role using STS on Delegate
This option uses the AWS Security Token Service (STS) feature. Typically, you use AssumeRole within your account or for AWS cross-account access.
-
AWS ARN: Provide the ARN either in plain text or as an encrypted secret.
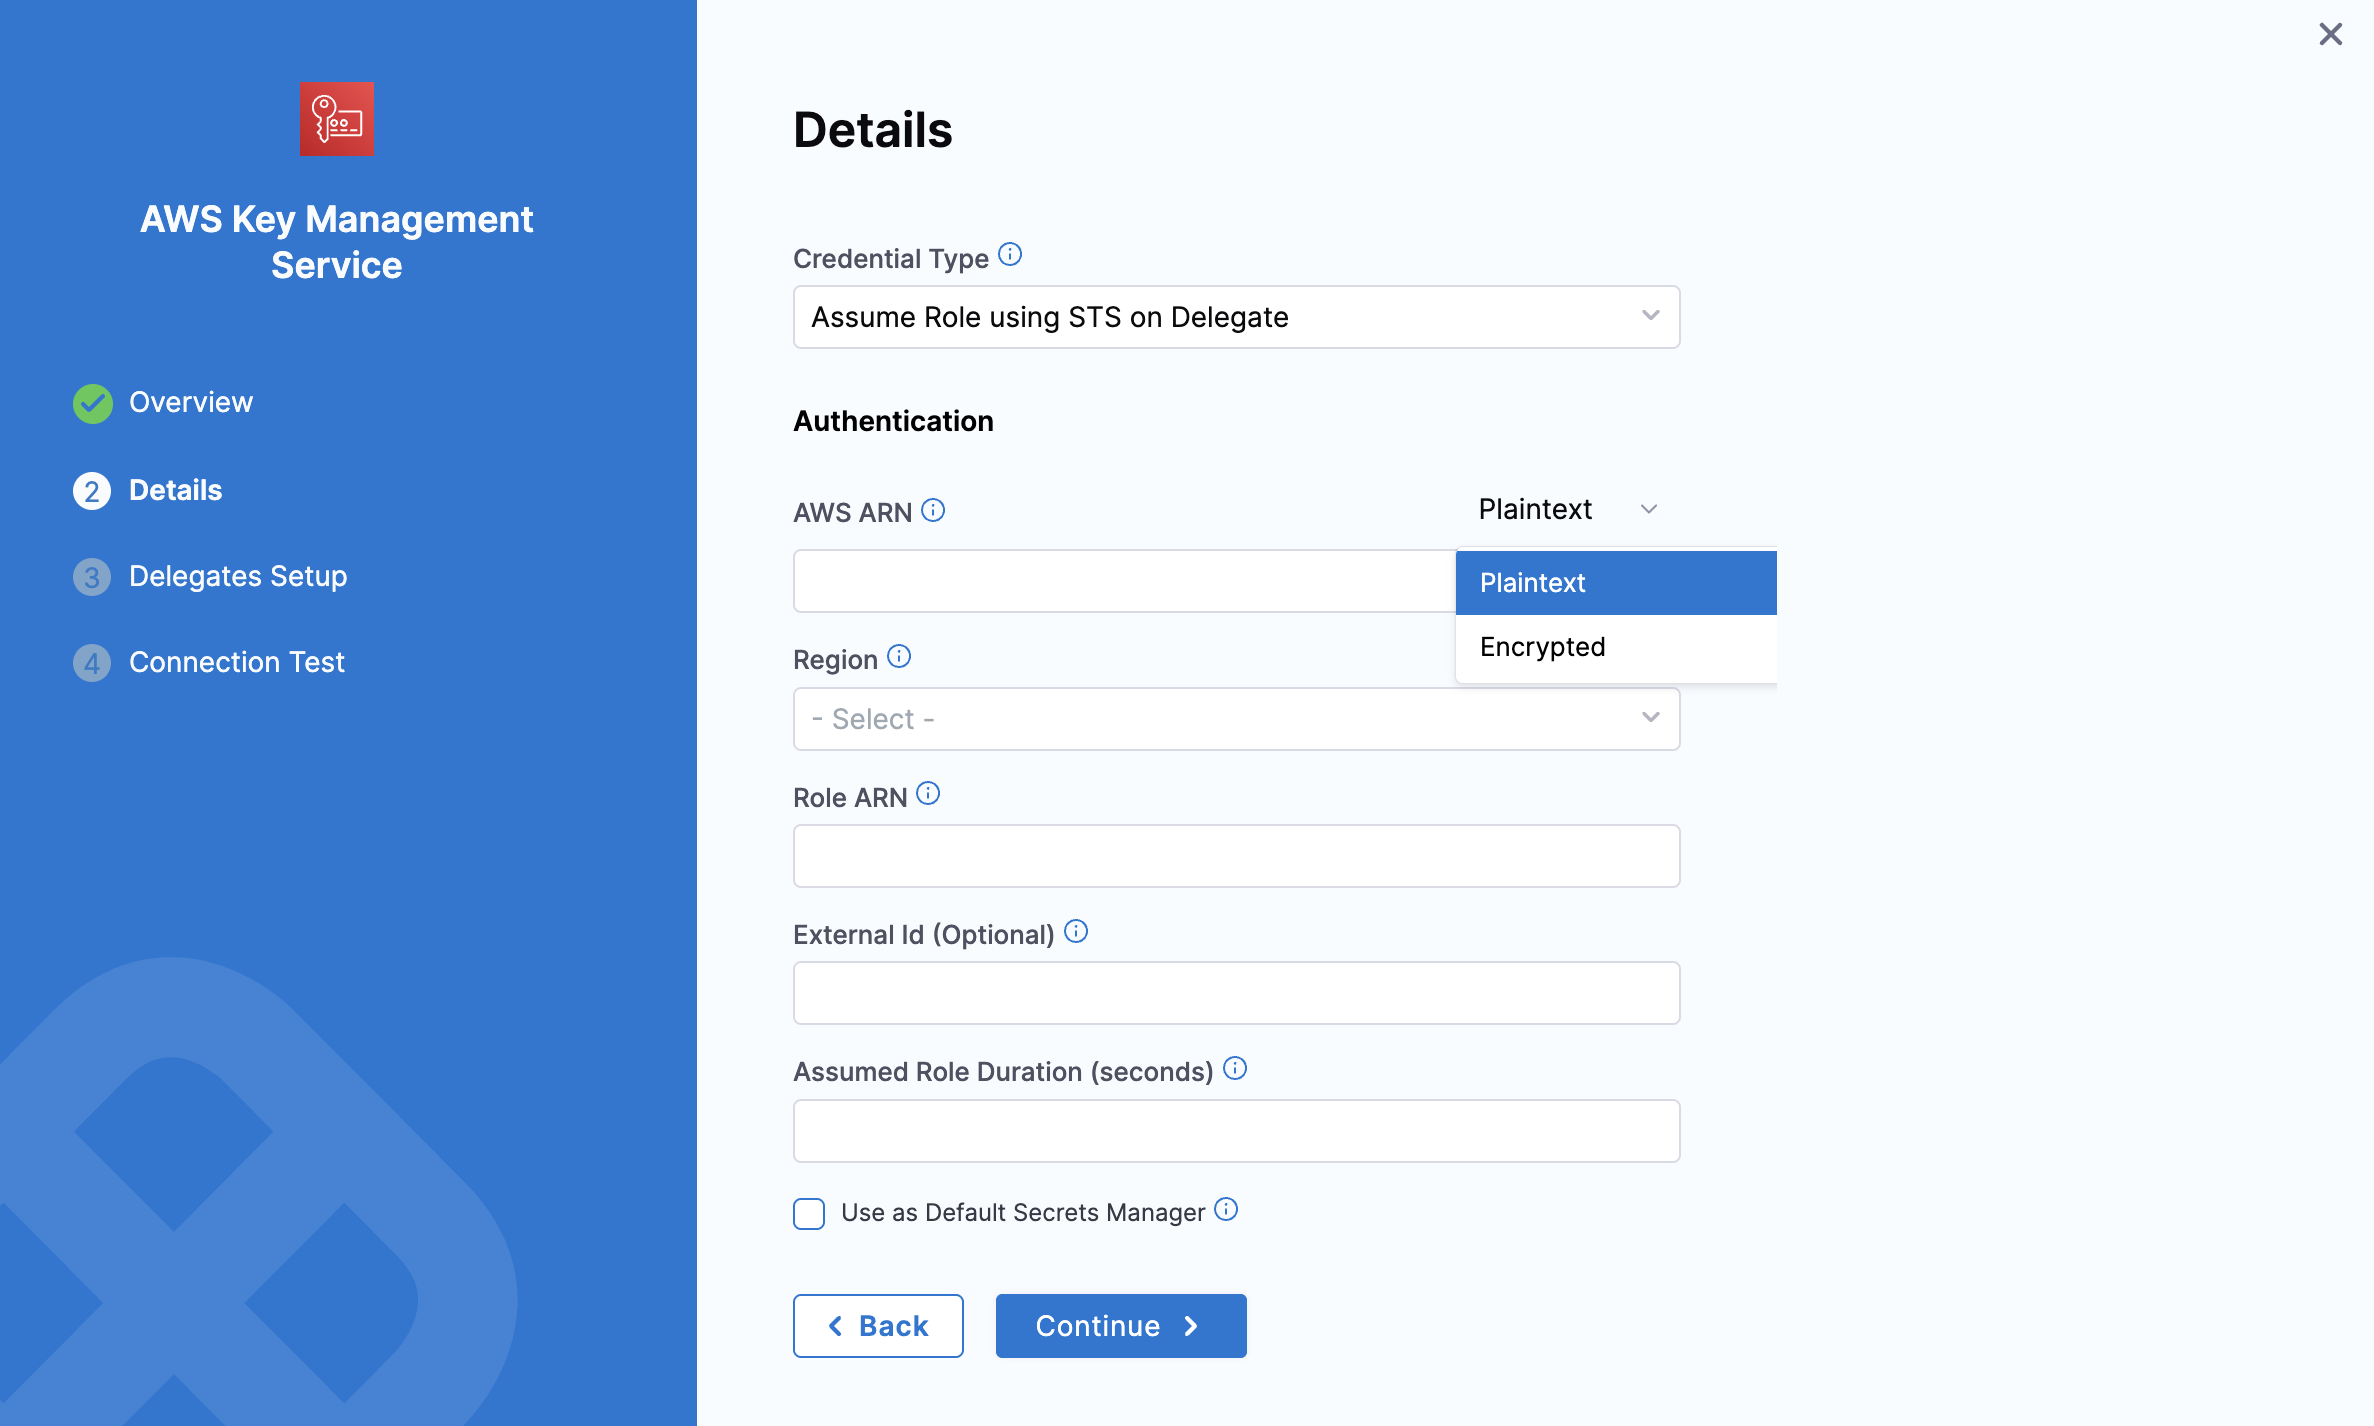
-
Region: select your AWS region.
-
Role ARN: Enter the Amazon Resource Name (ARN) of the role that you want to assume. This is an IAM role in the target deployment AWS account.
-
External ID: If the administrator of the account to which the role belongs provided you with an external ID, then enter that value. For more information, see How to Use an External ID When Granting Access to Your AWS Resources to a Third Party in the AWS documentation.
-
Assume Role Duration (seconds): This field sets the AssumeRole session duration. For more details, see Session Duration in the AWS AssumeRole documentation. .
Option 4: OIDC - OpenID Connect.
This option uses OpenID Connect (OIDC) to authenticate and authorize users. This option is commonly used for secure identity federation across different applications or cloud platforms, enabling seamless authentication and access management.
-
AWS ARN: Choose to input your ARN either as plain text or as an encrypted secret.

-
Region and IAM Role: Once your configuration is complete, set the IAM role and region below to proceed with the setup, as shown in the image above.
An additional step before proceeding.
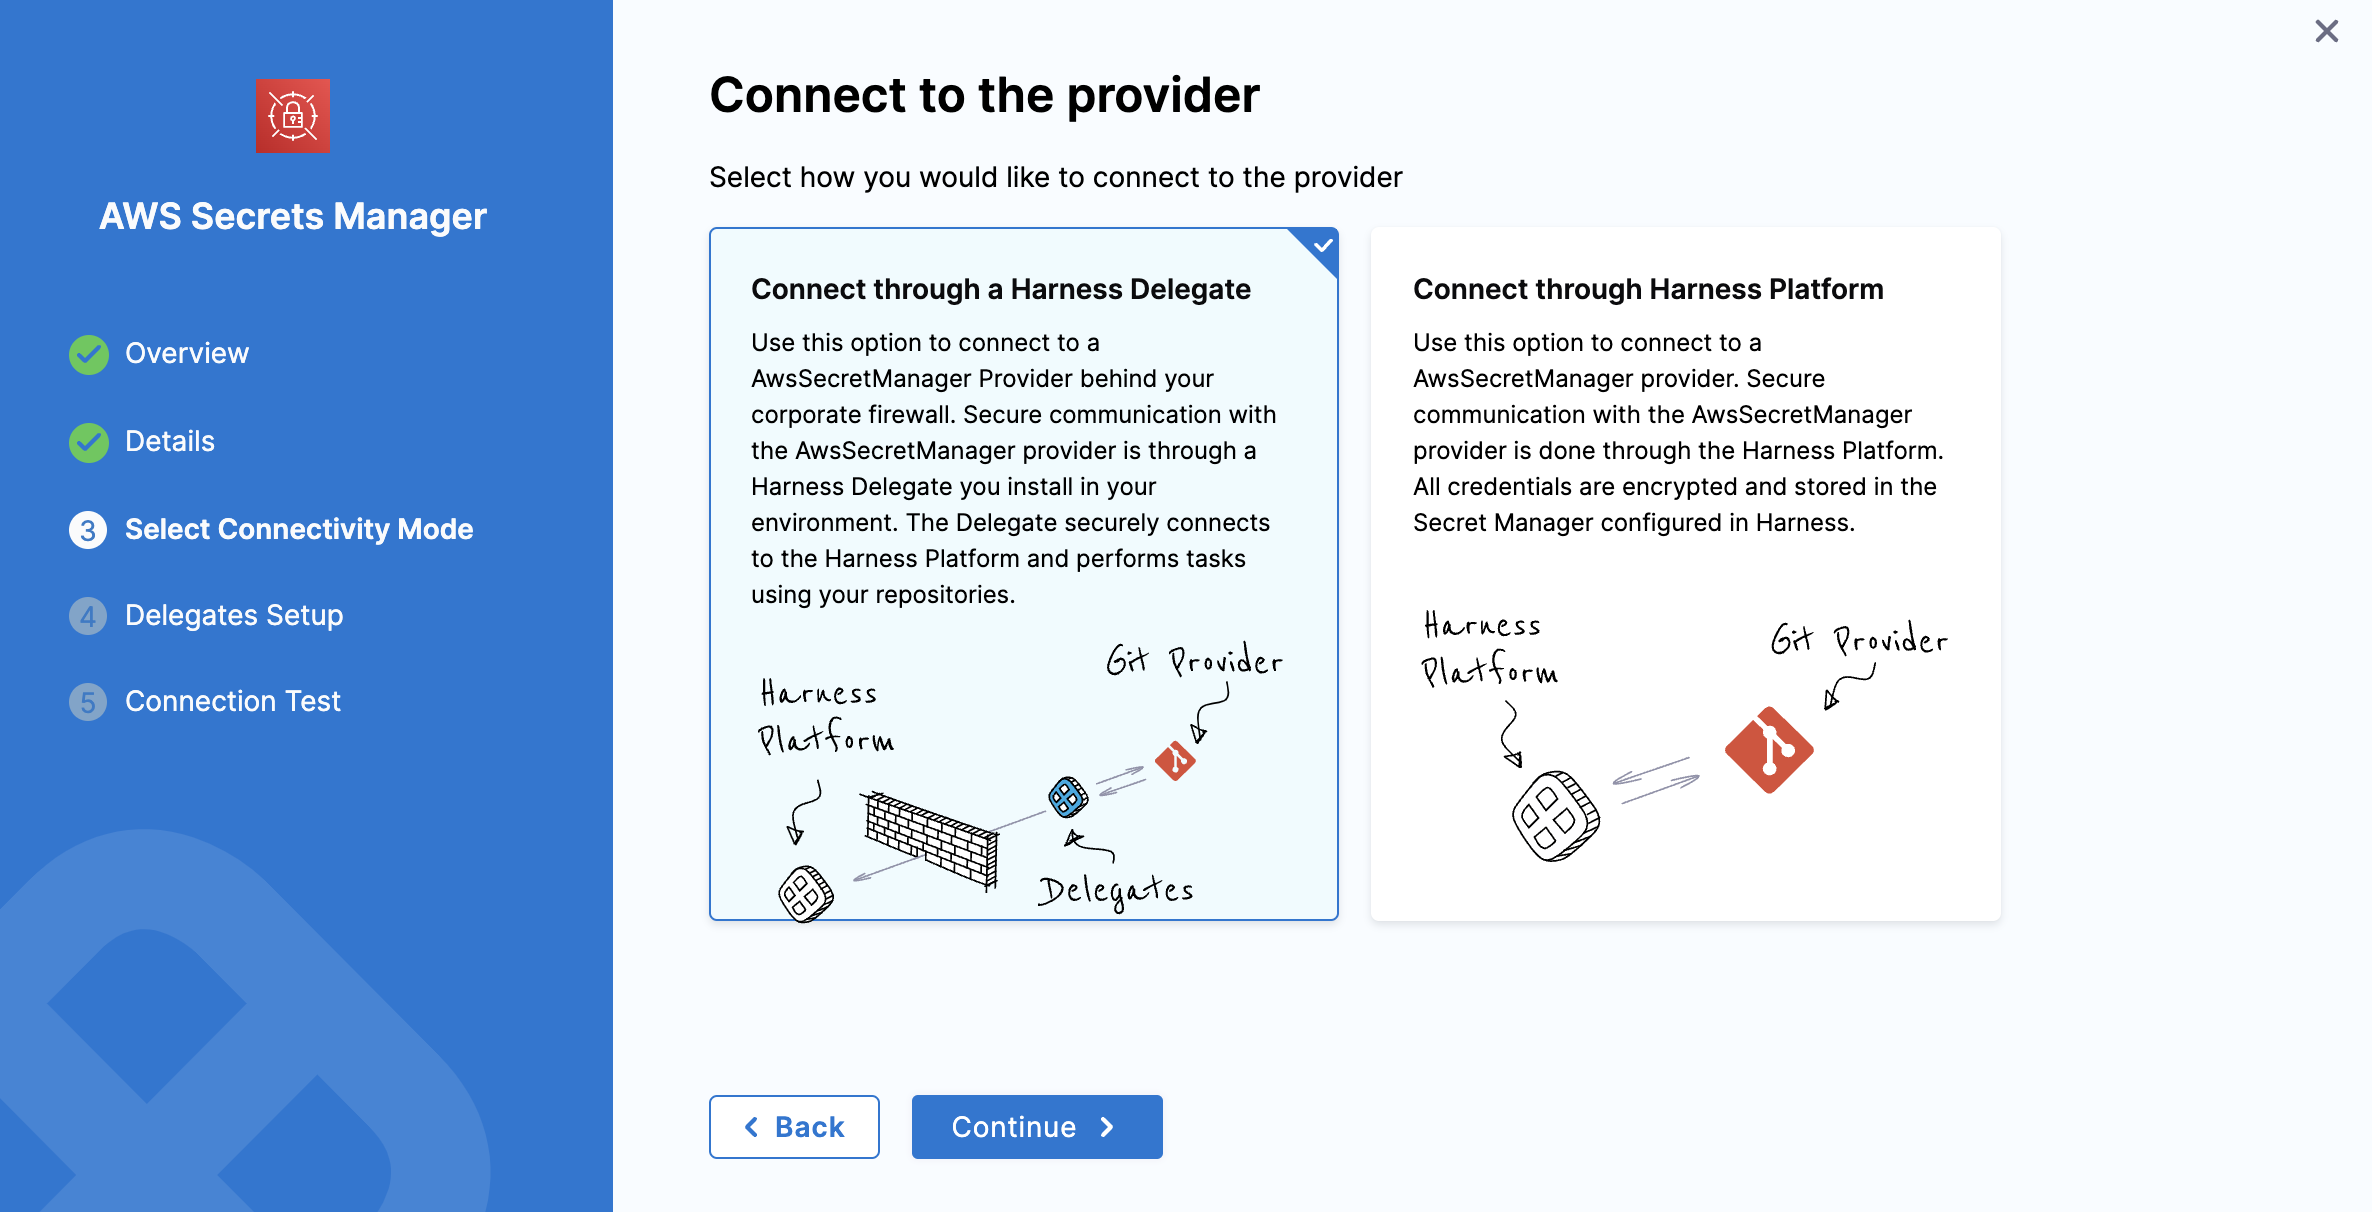
Connectivity mode
This additional step allows you to select the connectivity mode.
Once you have selected OIDC, you will be able to select connectivity mode, based on the requirement you can select the provider that can be either connect through a delegate or through Harness platform.
3: Setup Delegates
In Delegates Setup, enter Selectors for specific Delegates that you want to allow to connect to this Connector. Select Save and Continue.
4: Test Connection
In Connection Test, select Finish after your connection is successful.