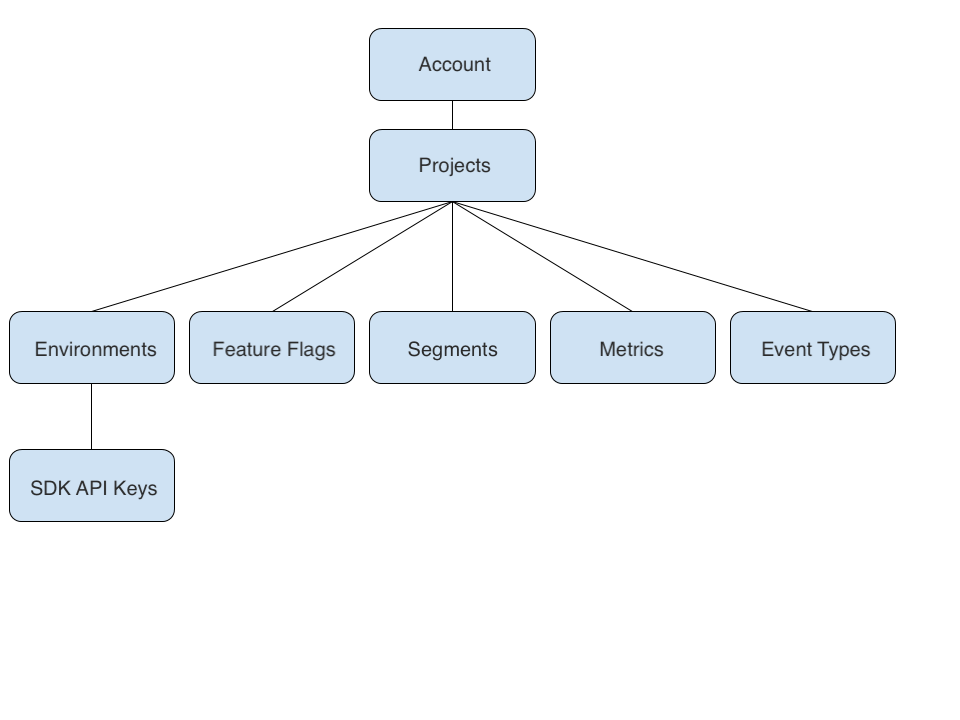
Projects
Overview
Projects allow you to separately manage your feature flags and experiments across your different business units, product lines, and applications. When you first create your account, you're provided with one project named Default. This project has two environments and one traffic type created underneath it. You can rename and edit these environments and traffic types and add more to the Default project.
The following objects are also located in a project. Refer object model map below for reference:
When you onboard different business units to Harness FME, you can add up to 20 projects within your account to allow each team to have a separated space to manage their experiments and feature flags. You can manage your projects from your Admin Settings page. Here, you can add new projects or edit existing ones.
Creating projects
To create a project, do the following:
-
From the left navigation, click on the profile button at the bottom.
-
Click Admin settings, then Projects. The Create a project appears.
-
To create a project, click Create project at the top right. The Create project page appears.

-
Enter a name for the project.
-
On the Required comments checkbox, optionally check whether you’re requiring titles and comments for feature flags, segments, and metric changes.
noteWhen you check this box, it affects approval flows.
-
In the project permissions area, select the desired control access by doing the following:
- Anyone has access. Allows anyone to have access to this particular project.
- Restrict who can access. Allows you to select which users, groups, and Admin API keys have access to a particular project.
- Click Create to create a new project.
Setting project permissions
You can set view permissions to your projects or projects you have administrator rights to and any objects within the project. This allows you more granular control over which users, groups, and API keys can access the objects in projects to support access requirements within an account.
These objects include feature flags, segments, metrics, traffic types, and environments. This also allows you to determine who can see if a certain project exists.
Each Split project has a project permissions setting which you can use to restrict access to that project to specific users, groups, or API keys. If a user, group, or API key is not granted access to a restricted project, they cannot see the project name nor determine whether that project exists.
Project view restrictions can be used to protect sensitive (i.e., confidential) projects, or to improve user experience by showing a small number of relevant projects to each user.
Viewing or updating project permissions
An Admin can view or edit a project's permissions by following these steps:
- Navigate to Admin settings.
- On the Projects page, click the View link for a project.
- Click the Actions button on the top left and select Edit project. The Edit project pane will appear.
- On the Edit project pane, you can view project permissions. You can also restrict access to the project to some users, groups, and Admin API Keys.
Data export restrictions
An administrator may restrict the export of data from Split to a subset of users or user groups at the environment level. For more information, see Permissions.
A list of all environments in a workspace, showing at a glance whether data export restrictions are in place for each environment, is available to admins. See Viewing projects.
Editing a project
When you are viewing a project, you can edit a project by doing the following:
-
From the left navigation, click on the profile button at the bottom.
-
Click Admin settings, then Projects. A list of projects appears.
-
On the selected project you want to edit, click View in the Action column.
-
Click the Actions button and then Edit project from the menu list. The Edit project page appears.

-
In the Name field, optionally change the name.
-
On the Required comments checkbox, optionally check whether you’re requiring titles and comments for feature flags, segments, and metric changes.
noteWhen you check this box, it affects the approval flows.
-
In the project permissions area, optionally select the desired control access by doing the following:
- Anyone has access. Allows anyone to have access to this particular project.
- Restrict who can access. Allows you to select which users, groups, and admin API keys have access to a particular project.
- Click Save to save your changes. The changes appear in the admin audit logs.
Viewing projects
To view projects, do the following:
-
From the left navigation, click on the profile button at the bottom.
-
Click Admin settings, then Projects. A list of projects appears.
-
Select View on the desired project. From here, you can see the environment name, ID, type of project it is, permissions setting, and data export permission settings.

Requesting access to projects
If you have no access to a project, you need to request access from the administrator of that project.
Navigating between projects
You can navigate between projects by doing the following:
- From the left navigation, click on the profile button at the top.
- Search or select the project you would like to switch to. You can see the environments, feature flags, segments, and metrics under that project.
Managing your projects
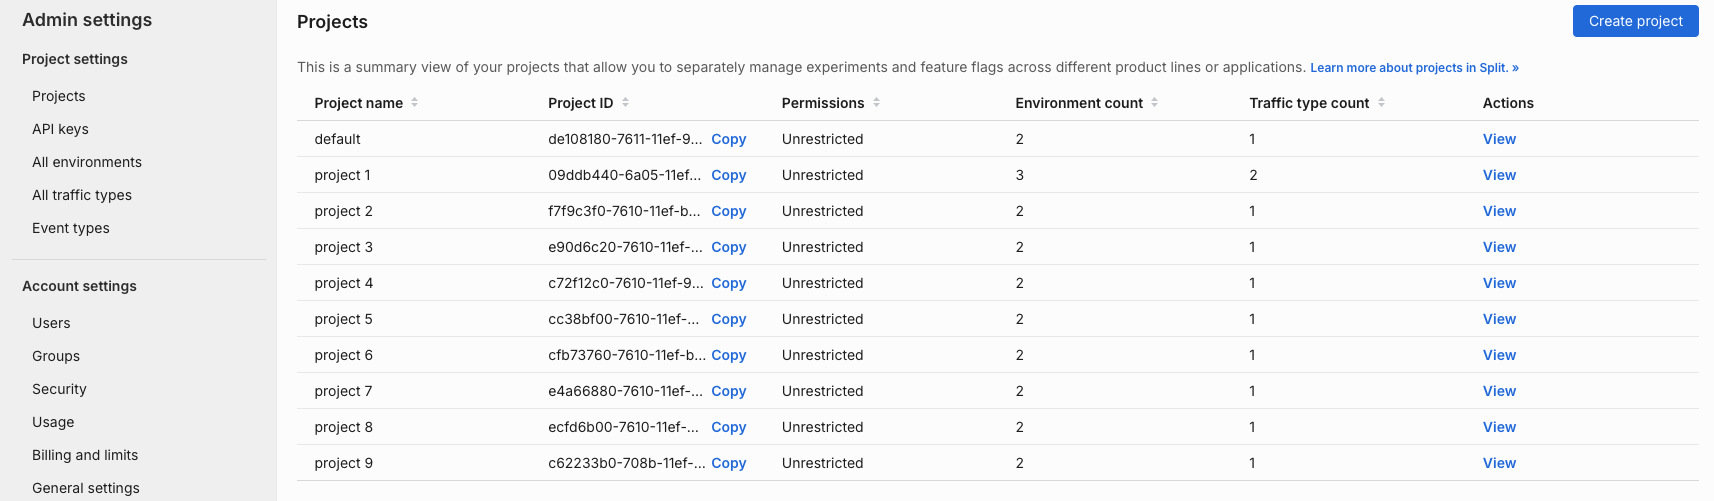
To manage your projects, go to the projects tab in your Admin Settings page. On this page you can:
- See a list of all your existing projects.
- Manage the environments and traffic types in a project by clicking View in the Actions column for selected projects.
Deleting a project
To delete a project, follow these steps:
-
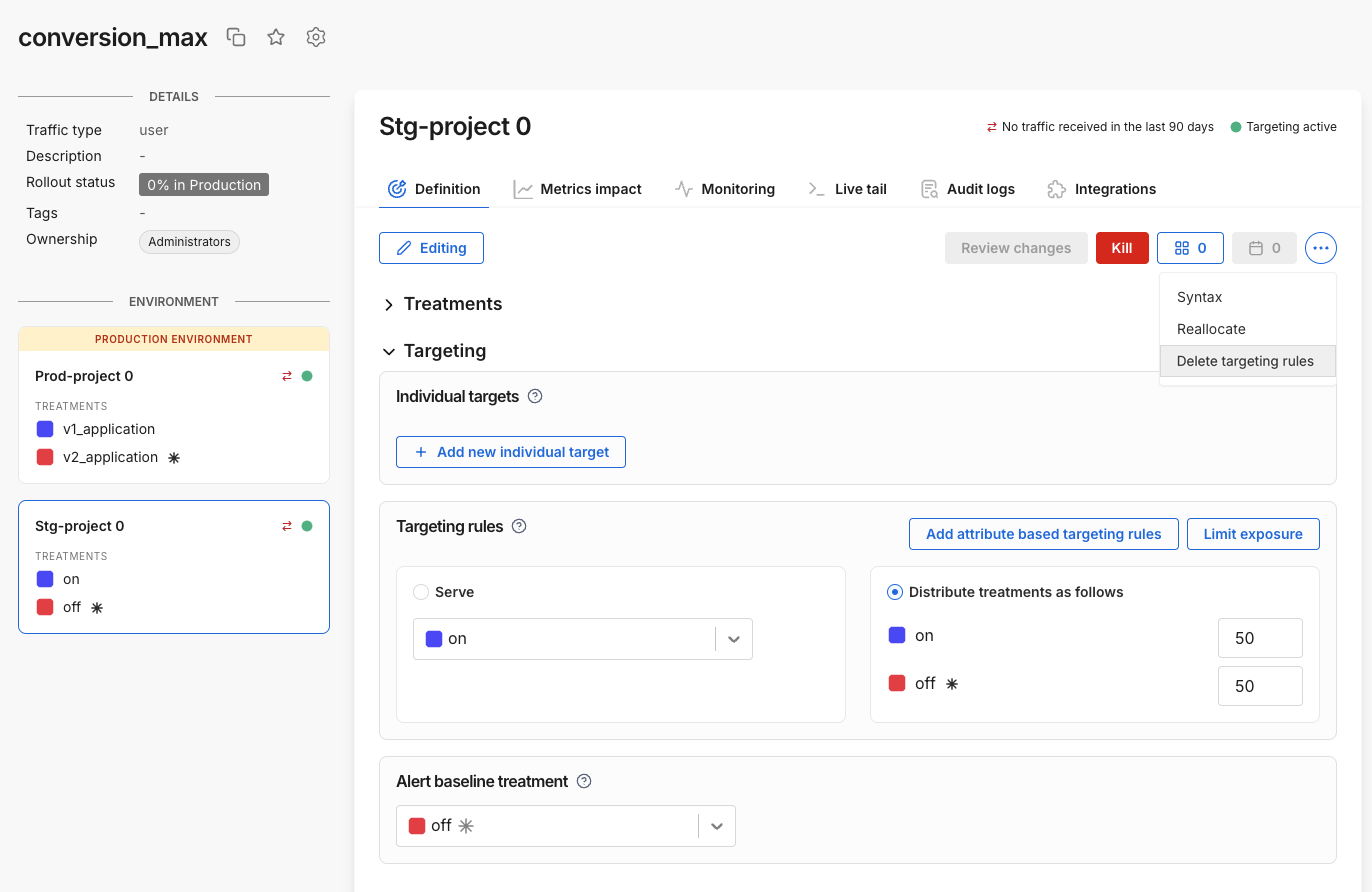
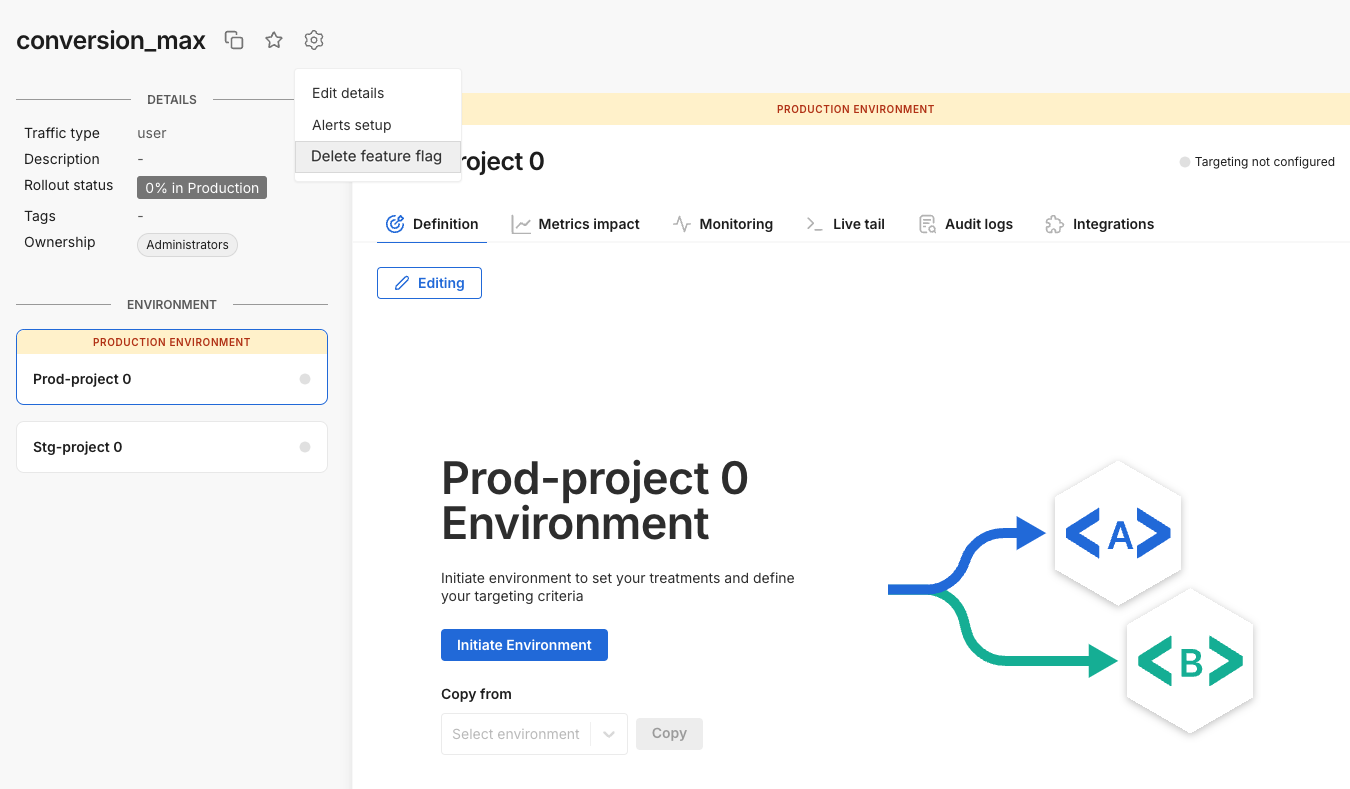
Make sure all feature flags, segments, and metrics are deleted from the project for all environments.
-
To delete a feature flag, delete all the definitions from its environments.
-
Then, delete the feature flag.
-
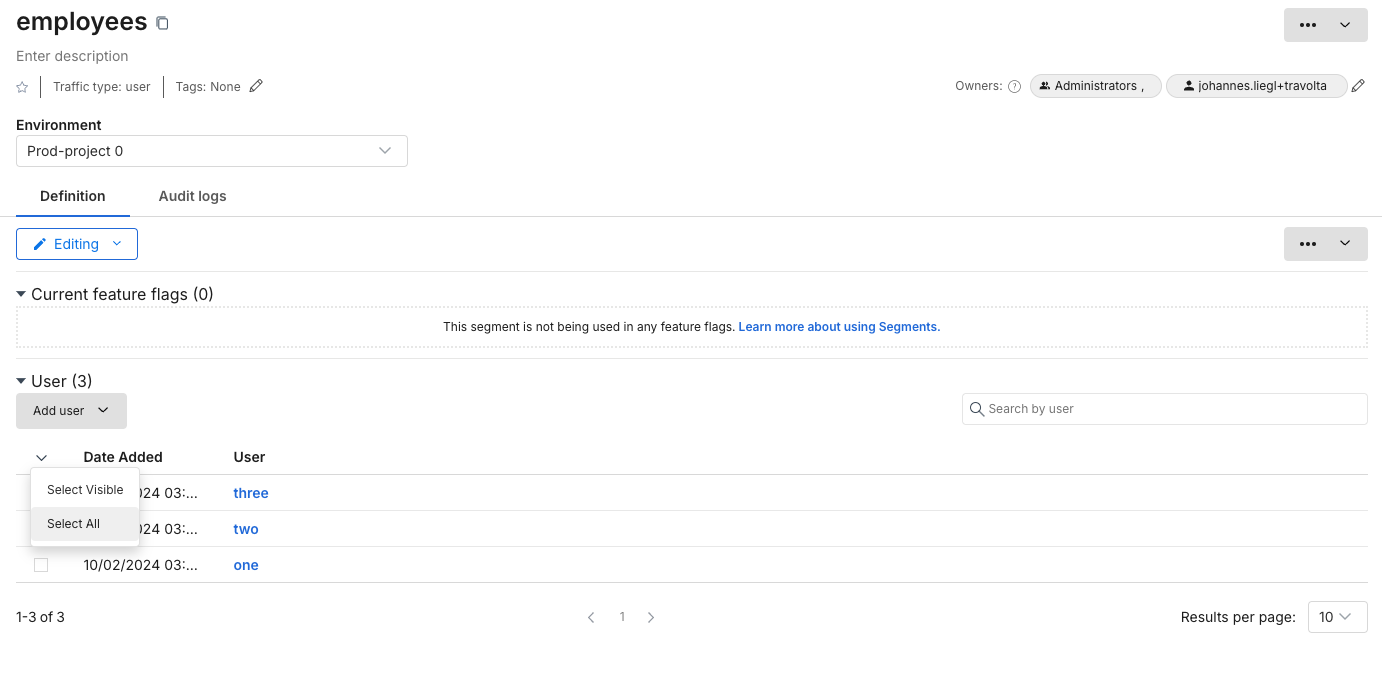
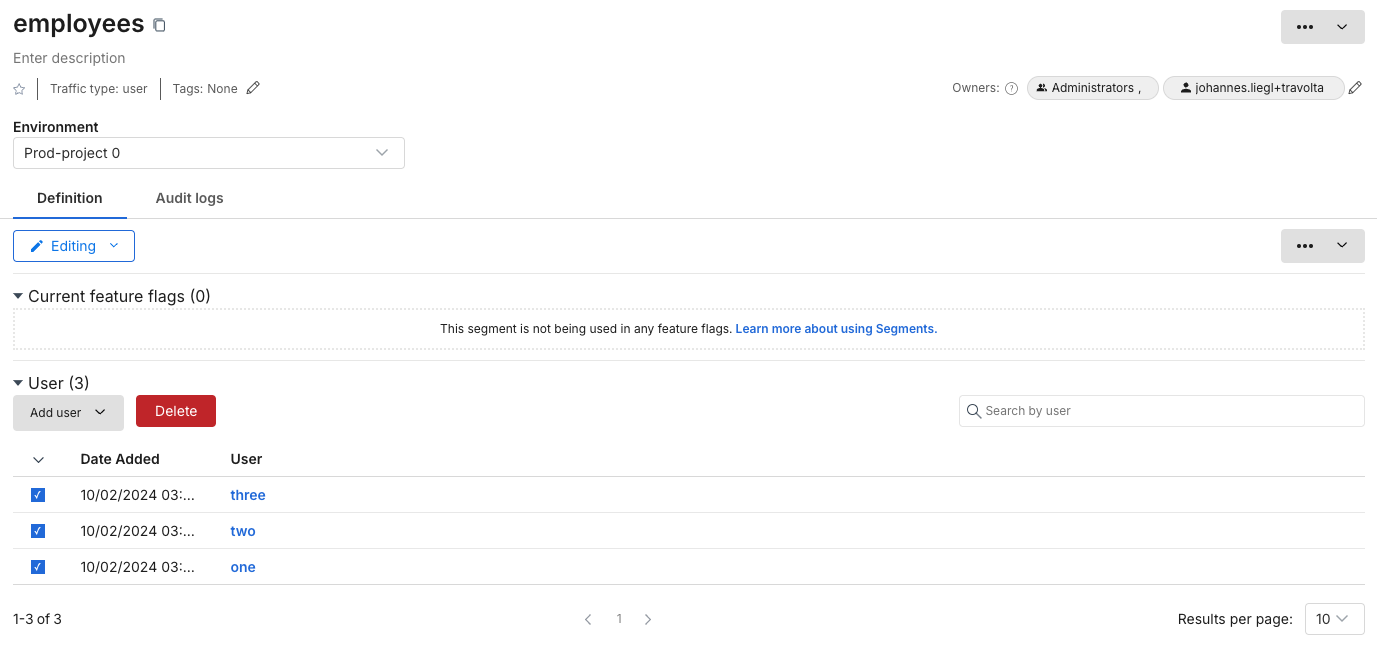
To delete a segment, first select all its keys.
-
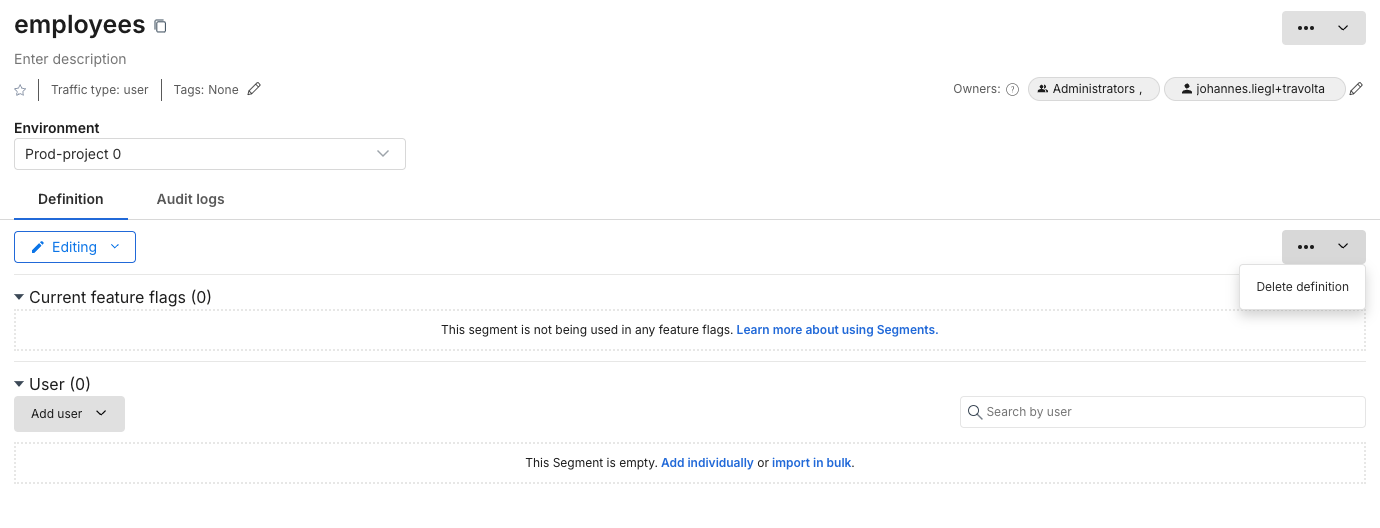
Then, delete the keys.
-
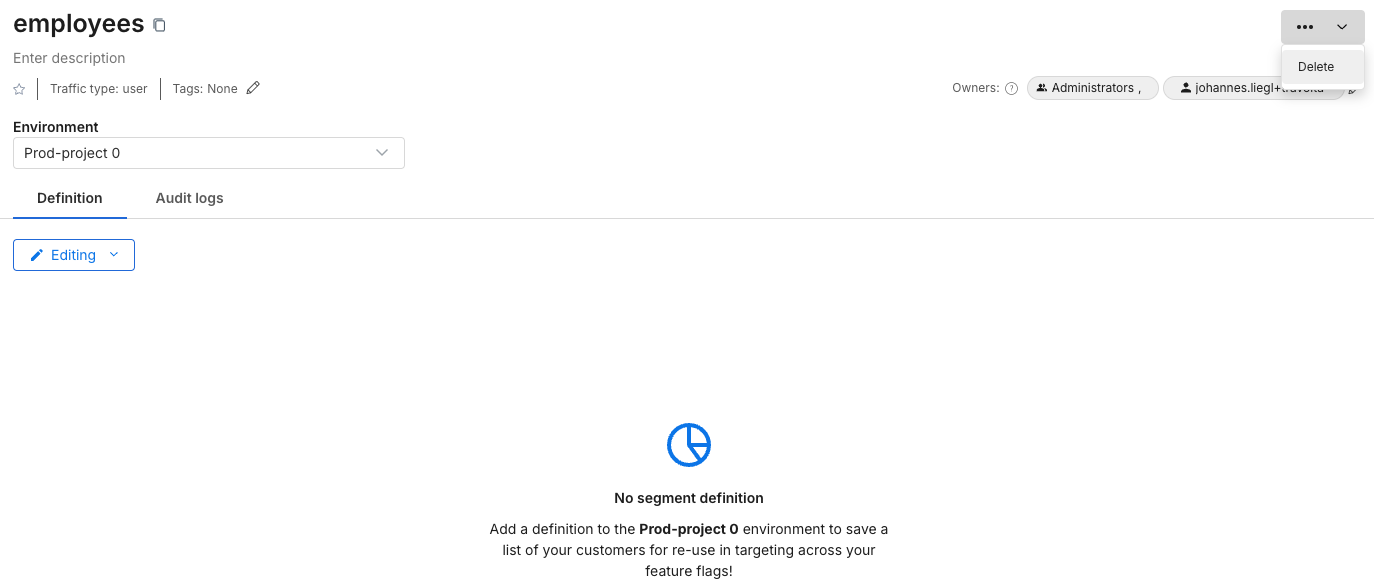
Then, delete the segment definition and repeat these steps for all environments.
-
Finally, delete the segment.
-
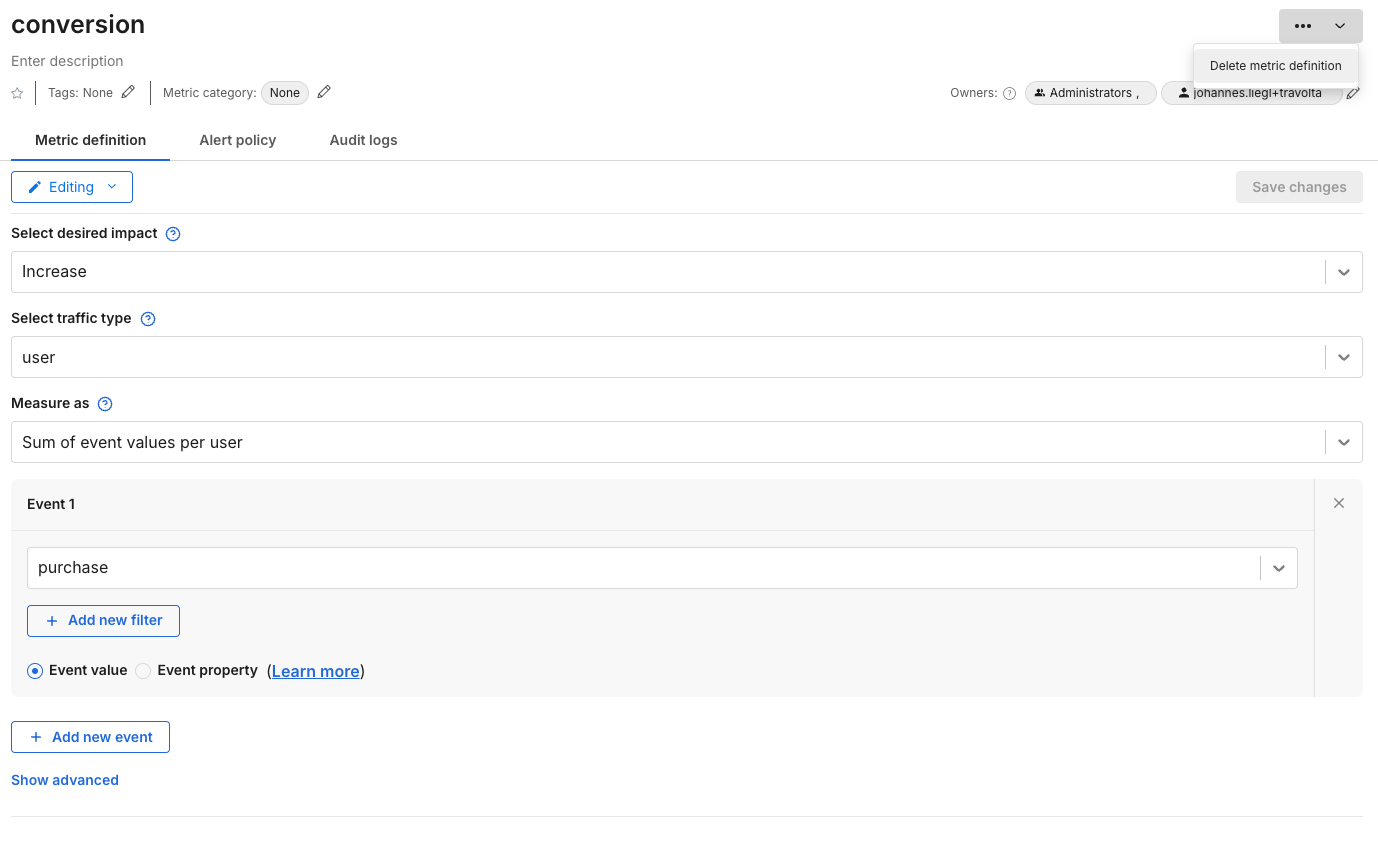
To delete metrics, click on the upper top right (...) icon to delete it.
-
In the Admin page, under the API keys page, Make sure all Admin API and SDK keys are revoked for the project environments. For example the screenshot below shows the SDK API key for the "default" project.

-
In Admin settings, in the left menu, click Projects.
-
In the list of available projects, click the View link of the project you want to delete.
-
You will see a list of environments for the selected project, now you can delete each environment using the Delete link.
-
The user interface will allow you to delete all environments except the last one, as each project is required to have at least one environment.
-
Click the Actions button in the top right corner and choose the Delete project option, which will allow you to delete it.
